INTRO
Its been a while since my last post but I have finished the Leica M3 digital conversion kit I started a few years ago as a Kickstarter! It’s taken longer than I had hoped as I had less spare time during my degree than anticipated. In addition, I was aware that different people who had supported my Kickstarter had differing priorities, so ensuring I met all these requirements took a long time. A full frame sensor was essential for some backers, while others wanted it to be as faithful as possible to the original M3 .
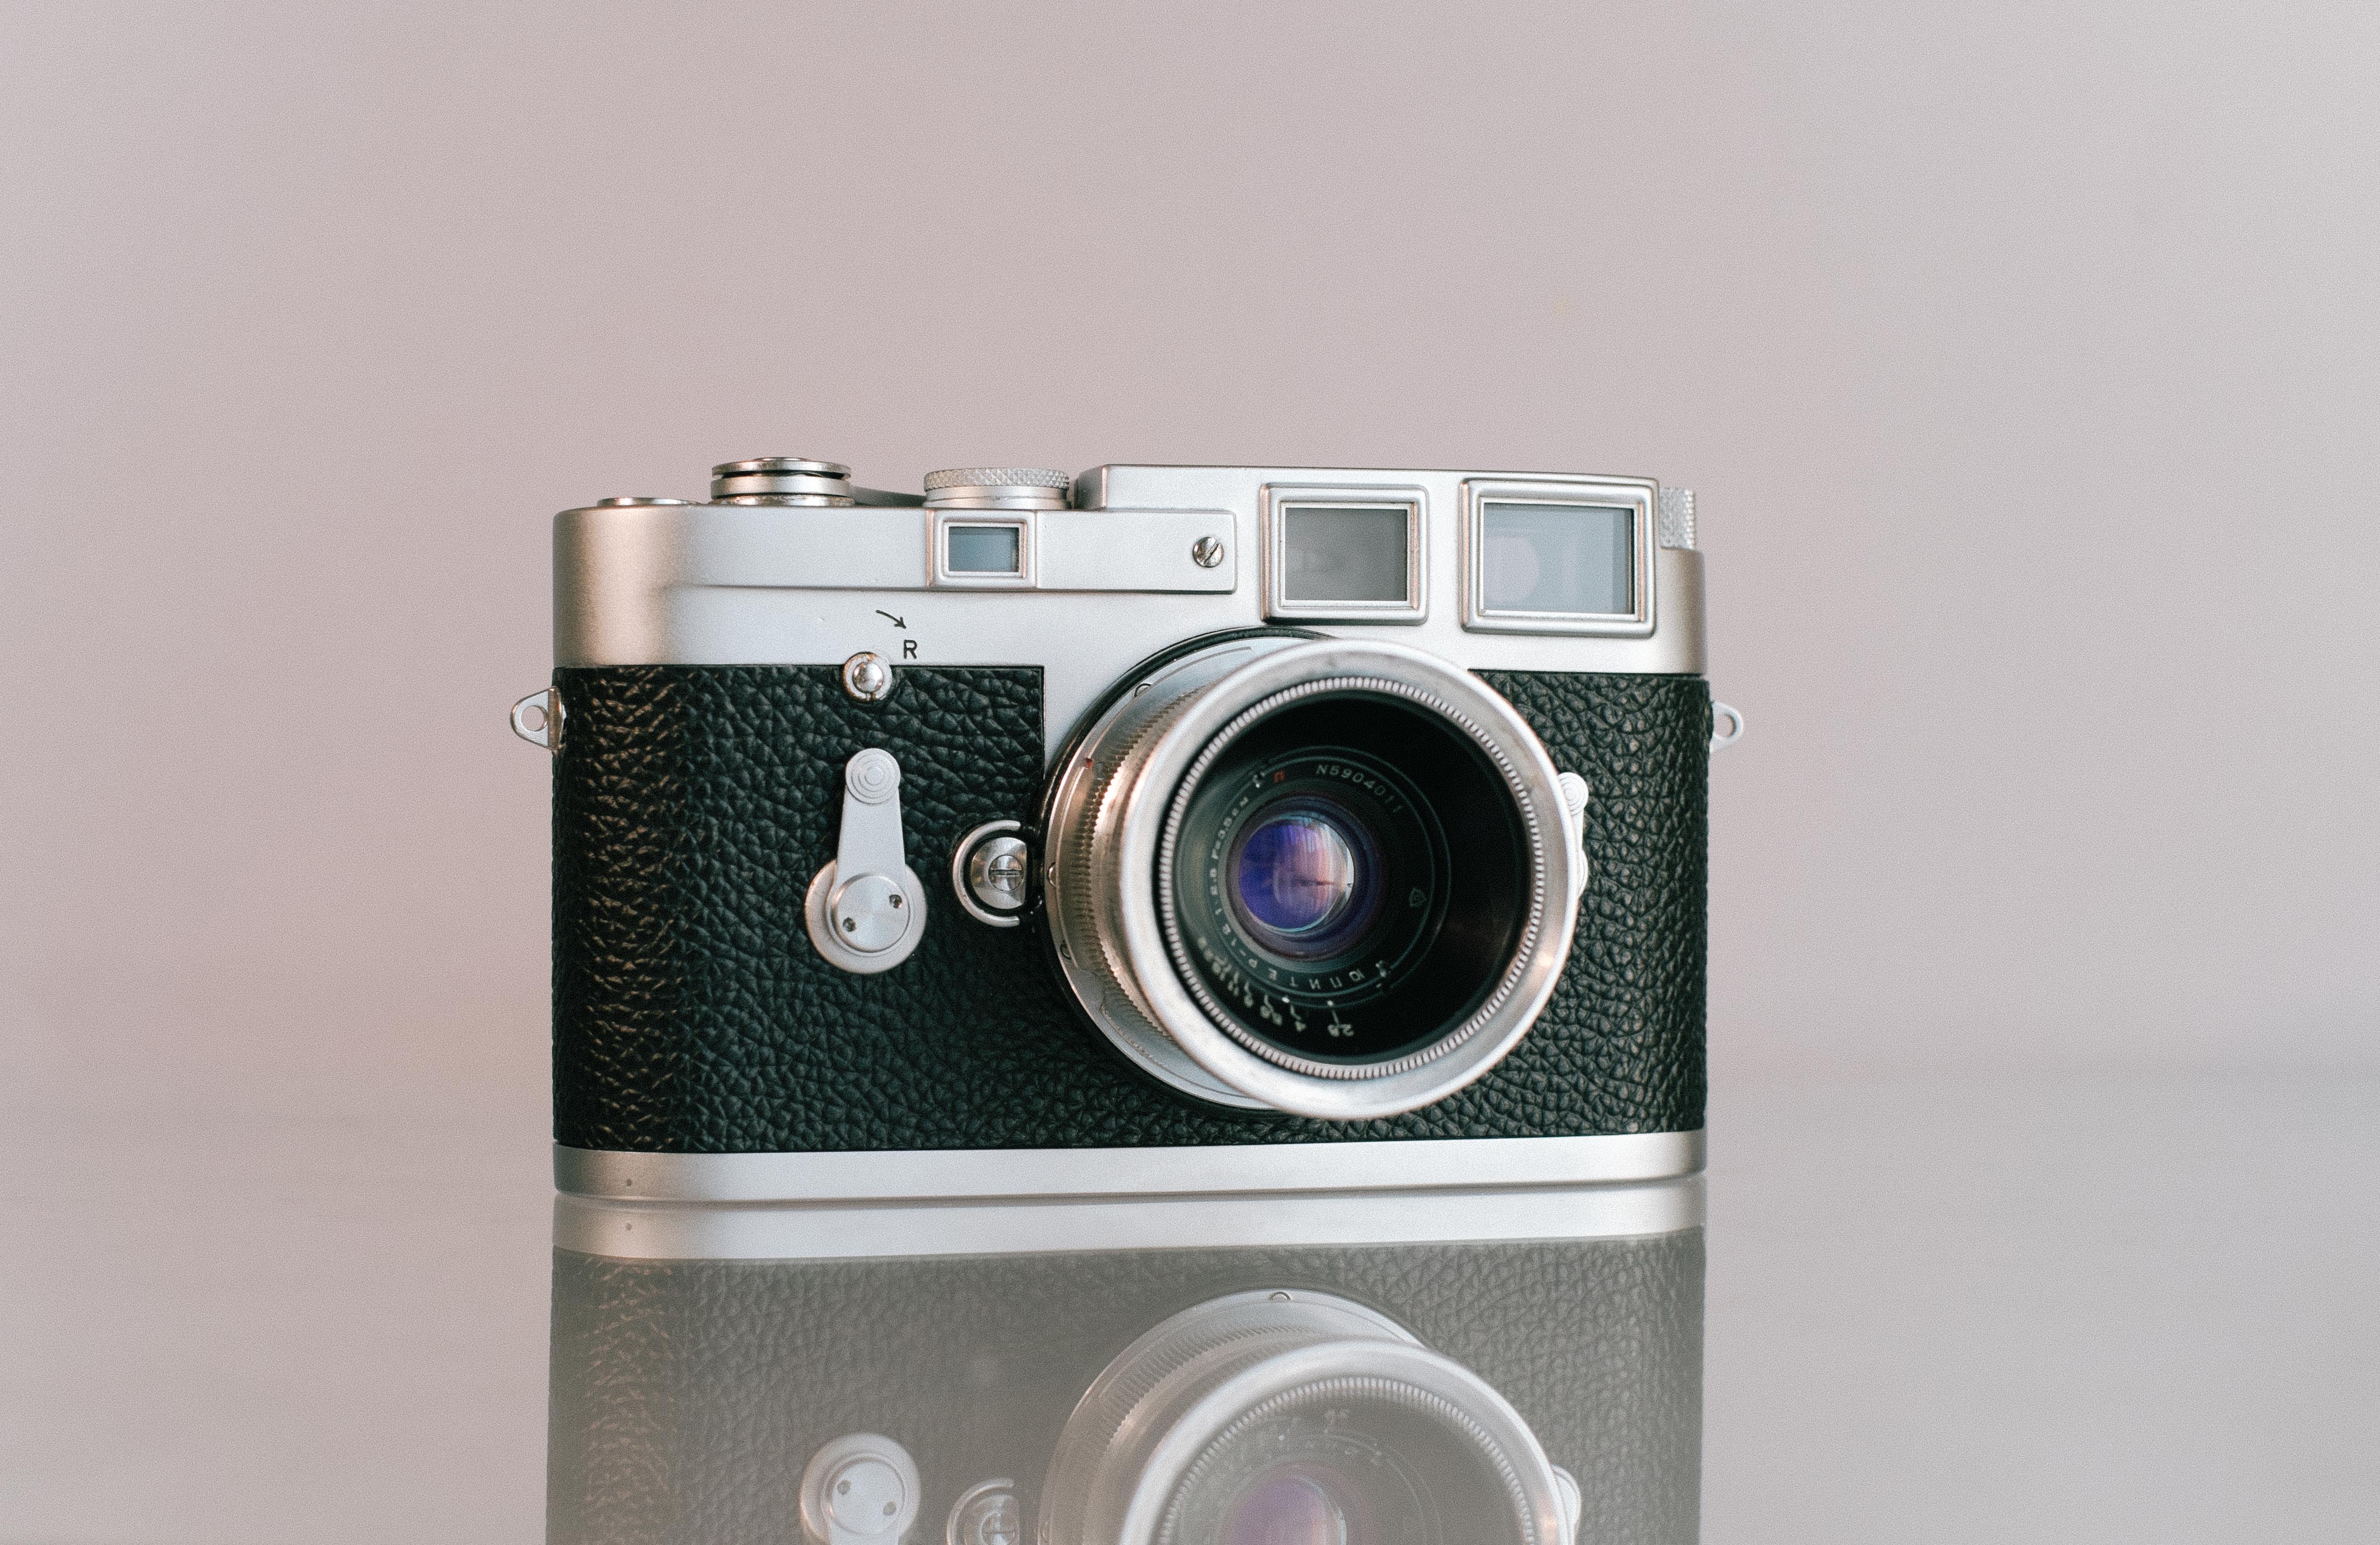
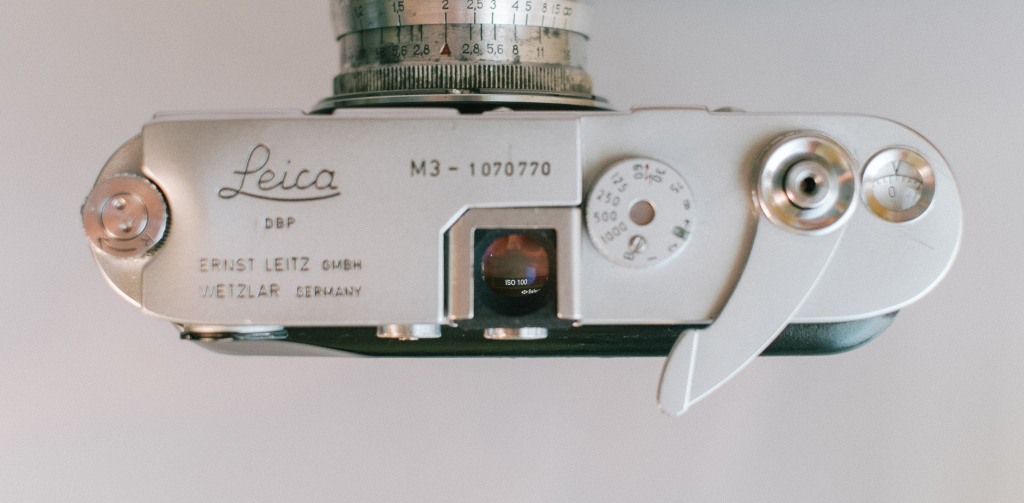
The primary inspiration behind this project is the phenomenal viewfinder in the M3. I have always loved manual focus, I feel it forces me to interact with the scene in front of me much more than auto focus. For this reason I have always been drawn to rangefinders, arguably the easiest viewfinders to focus, as I find they do away with the distractions of other viewfinders. The light doesn’t travel directly through the lens but instead through a small window illuminating a clean image and its frame, uncluttered with overwhelming amounts of information. I enjoy the mystery this affords the final photograph as you are not shown the depth of field, bokeh or exact frame lines whilst composing, allowing you to concentrate more on the “story” of the photo, as opposed to visual effects. Besides being exceptionally clear and bright, the M3’s viewfinder has a magnification close to 1x (with 50mm frame-lines) which for me adds to the unobtrusive nature of a rangefinder. The M3 is a beautiful and revered camera so I have made sure the conversion is completely reversible and does not damage any Leica parts. I hope that this project celebrates the M3, expanding the possibility of its best feature: its viewfinder. One model allows film and digital to be used interchangeably, whilst the other can recycle the rangefinder from an M3 whose shutter mechanism is broken.
TWO MODELS
I started trying to make a version similar to my original Konica conversion but with a Sony A7 sensor. I quickly ran into difficulty with space as the A7 parts were larger and more fiddly than those in the Sony NEX-5. My attempt to shoe-horn the A7 parts in made the camera large, ugly and unreliable. I was not interested in creating a camera that was less than the sum of its parts so I split the project into two models, one using the NEX-5 sensor which essentially just clips onto the back of the Leica, and another with the A7 sensor and parts of the Leica (including the functioning rangefinder of course) but not the body and shutter of the Leica. I felt that these two models should satisfy different priorities: if you want the most authentic, fully manual M3 experience with all the Leica engineering, the NEX model suits you. On the other hand, if you’re mostly interested in the M3 rangefinder and you want a full frame sensor and metering; the A7 model would be best. It may seem ridiculous to only use the rangefinder and disregard the mechanics of the camera but when you consider an external Leica viewfinder (with no rangefinder) is worth £625 it makes more sense, Leica is an optics company after all.
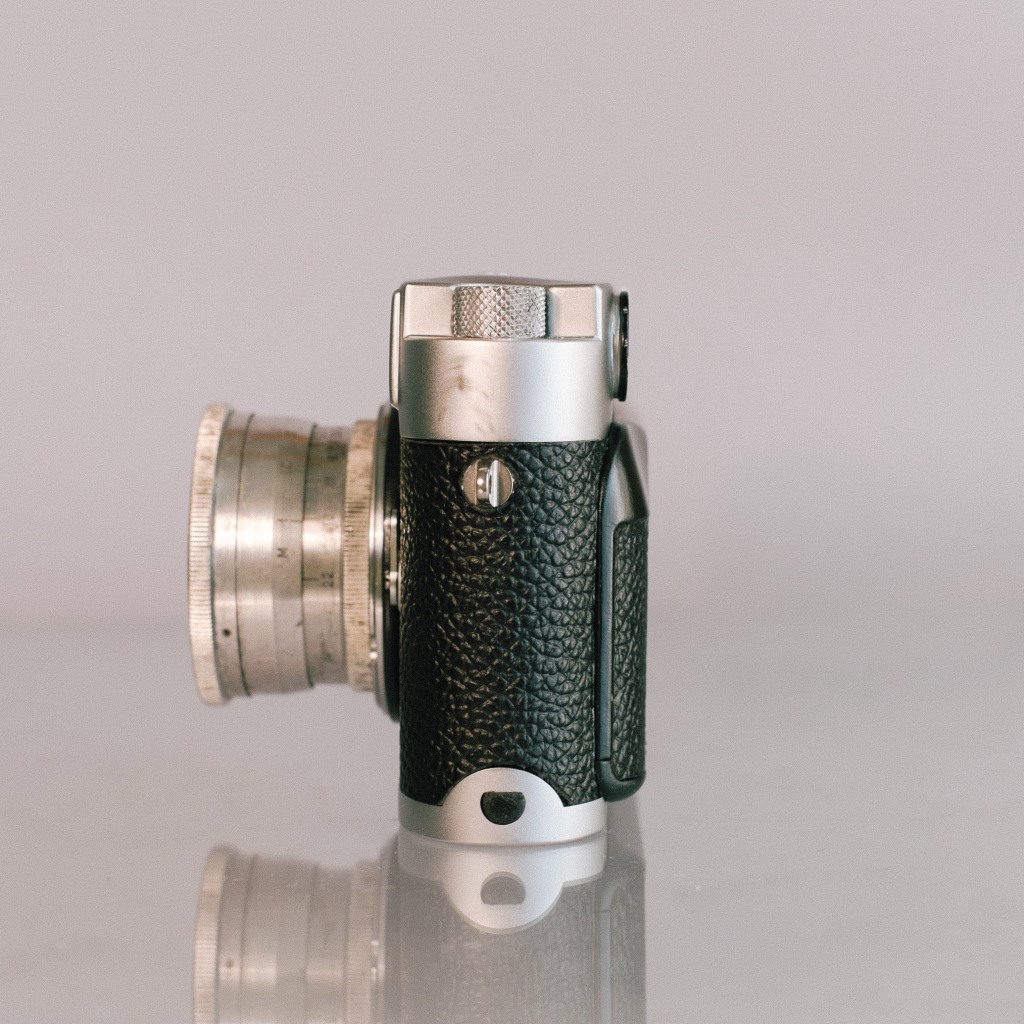
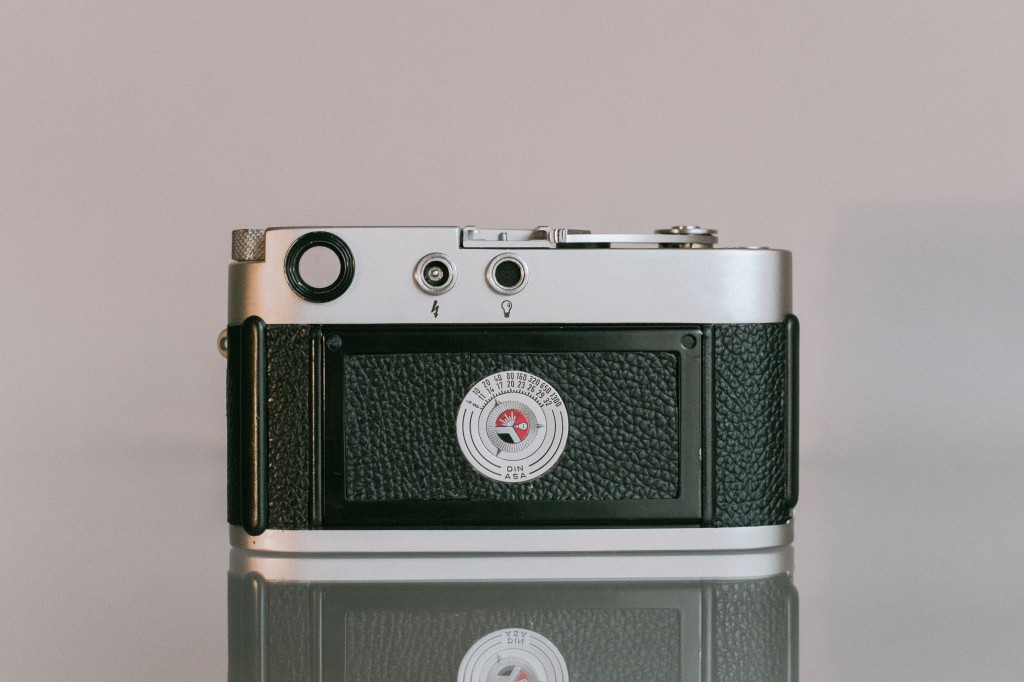
Below are some photos of the finished models, they are painted but you can see the unpainted 3D print in places.
THE FULL FRAME MODEL


THE APS-C MODEL


SIZE
Size was an important issue as the M3 is not a small camera to begin with. The NEX model wasn’t too problematic but I had to extend the height of the A7 model (to fit in the large electronic shutter) and make it thicker (to fit in the circuitry without damaging the Leica’s chrome top and bottom). To keep it as thin as possible I moved the lens a few millimetres forward. This was tricky with the original Leica mount so I took a mount from a third party lens adapter. Moving the lens forward requires a spacer to be placed between the lens and the rangefinder arm so the rangefinder still functions.
SCREEN-LESS
I chose the M3 because of its fantastic viewfinder so I was set on making the models screen-less as if there was a screen visible, I found myself distracted and the feel of the camera was changed.
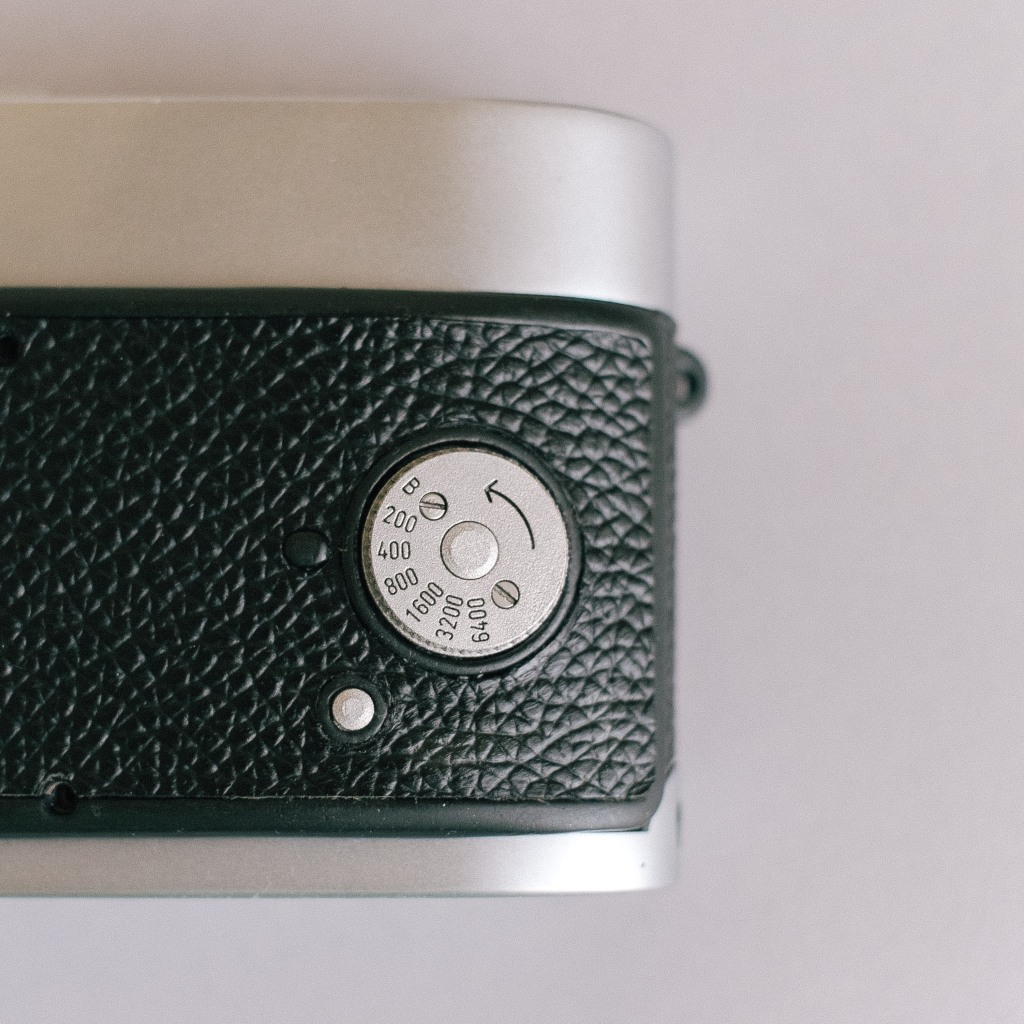
NEX DIAL
To make the NEX model screen-less I needed to include an ISO dial. Unfortunately the NEX doesn’t have one and its wheel automatically changes the shutter speed in manual mode. However, pressing one of the camera’s custom buttons sets the wheel to change the ISO. Therefore we can solve the dial issue by replacing the NEX’s wheel with a dial that can physically only be turned if you press a button next to it (which in turn presses the NEXs custom button).
If you turn the dial when the camera is off it will need to be re-calibrated. Thankfully when in manual mode, the NEX plays an error tone when you try to put it in AUTO ISO. I included a “B” (for beep) on the dial corresponding to this AUTO position so if you find the beep and set the dial to “B” it will be calibrated. Alternatively you can plug the screen in or take a photo and check the ISO on a computer.
There is a choice of dial faces you can use, a free 3D printed nylon one, a high-detail plastic one (painted black in the photos, £10) or a high-detail stainless steel one (£22).
A7 DIAL
The A7 model uses its own shutter and it therefore needs a dial for ISO, Shutter speed and EV Comp. After experimenting with multiple dials, I decided the best solution was to have just one dial (using the original Leica shutter speed dial) and a button (the one to cancel the Leica self-timer) on the front of the camera as an ISO button. For this design, I had to include a screen but to make it as unobtrusive as possible I used the small screen from the A7’s viewfinder, and placed it behind a magnifying lens below the hot-shoe. You can have a cover in the hot-shoe hiding the screen (until you want to change a setting) or a cover with a hole to see the screen through.
Of my two designs for the mechanism below the dial, one is easier to print and the other matches the shutter speed on the Leica’s dial with the A7’s shutter speed so the screen isn’t necessary to change the shutter speed. This does mean the hot (cold) shoe has no electrical contacts but and I have included a PC sync socket where the old Leica flash syncs were.
To switch between shooting modes I repurposed the Leica’s self-timer lever to switch between M and A modes. I also decided to put three small push buttons under the Leica bottom plate which are connected to the menu button, and two of the navigation buttons, to allow you to access and edit the menu items if needed.
ON/OFF SWITCHES
The cameras need on/off switches, for the A7 model I repurposed the film advance lever and initially designed quite a complicated mechanism to feel much like the original mechanism but I also designed a simpler version. Both rotate a dial in the film counter window engraved with “ON” and “OFF”.
For the NEX on/off switch I repurposed the film rewind knob.
BATTERIES
The Sony battery was my next problem as it is large and cuboid (difficult to 3D around with strong walls) so for both the designs I replaced it with two small 16340 cylindrical batteries. The Sony battery contains a circuit board in addition to two 3.7v cells for protection so I needed to include one of these between the cells and the camera. They can be easily removed from cheap AC adapter on the internet. There is an amazingly detailed website (lygte-info.dk) on which the author posts a ton of reviews of batteries and chargers with loads of detail about capacity and performance. I bought some Vapcell INR16340 800mAh (White) and a Nitecore i4 charger which I have found last me as long if not longer than the original batteries but I haven’t done any rigorous comparisons.
Using batteries like this carries the risk of inserting them the wrong way round which can cause big problems so I have included small printed pieces, that when glued onto the batteries in the right way, force you to insert them with the correct polarity. As a fail-safe, the contacts are in such a position that the batteries will not be connected if they are inserted incorrectly.
NEX SHUTTER RELEASE
The NEX has a two-stage shutter release button, the half-pressed state (when the autofocus and metering would normally be fixed) and the fully-pressed state when the shutter opens and the camera records an image. For these two stages, the camera has 3 electrical terminals which I shall call A, B and C. First A and B are connected for the half-pressed state, then C is connected for the fully pressed state. For my original Konica conversion, I soldered B and C together permanently which did not activate the half-pressed state, but the fully-pressed state was activated when A was connected to these. One of the small issues with that camera was the slight delay between this connection and the NEX starting to record the image. You had to half press the trigger button and wait for the NEX to start recording and then fully press to release the Konica shutter. This time I found that if you were already in the half-pressed state the delay was far shorter, almost instant. However, we do not always want the camera to be in the half-pressed state as you can’t change the ISO when it is. To solve this I wired it up as follows:

Switch 1 is closed (connected) when the Leica film advance lever has been wound and therefore the Leica shutter is cocked.
Switch 2 is closed when the shutter release button is slightly pressed.
Switch 3 is controlled by the repurposed Self Timer lever on the font of the Leica. It switches between two shooting modes. When switch 3 is:
- Open (not connected), the NEX will be half-pressed when the Leica shutter is cocked (switch 1 is closed) and in the fully-pressed state when the Leica shutter released is pressed slightly (switch 2 is closed).
- Closed, the NEX will be fully-pressed as soon as the Leica shutter is cocked (switch 1 is closed). This is the more reliable mode as it will start recording an image as soon as the film wind lever is wound. If you take time between winding the film and taking the photo you will have long exposure times which the NEX can take time to process (depending on the speed of your SD card).
These three terminals required three connections between the Leica body and the digital back, they are connected using pins (from the lens contacts in the NEX body) and metal strips stuck to the Leica bottom as shown below which allow the digital back to be removed and replaced easily and quickly.


INFINITY FOCUS AND FOCAL PLANE
The A7 model is designed so you use the spacers from the original A7 to try and make the sensor parallel to the mount. I have set the mount and the sensor slightly too close together so you can place spacers (or pieces of aluminium foil) under the mount to calibrate the infinity focus of the lens (shim). It is easy to calibrate as you can use the live view magnification of the A7 to focus on a distant object. Checking the sensor is parallel to the mount is more fiddly and I haven’t found it necessary but it would just involve choosing three (or more) equally non-central areas in the image (edges or corners) and using spacers under corresponding parts of the mount to get an object to be in focus in all of these simultaneously. It is all detailed in my written instructions.
The main issue with the NEX design was to get the sensor into the focal plane of the Leica, I tried moving the Leica mount further back but this created too many issues. Fortunately by filing down the material around the NEX sensor you can get the sensor close enough to the original lens mount. As you are filing it down you have to check the focus periodically. This is probably the most stressful part of the conversion and is again detailed in my written instructions.
NEX SENSOR STACK
The large NEX sensor stack is then in the way of the Leica shutter curtain. I came up with two solutions for this: the first, which I don’t really recommend, is to print a thin spacer to place behind the Leica curtain, pushing it forward by just over a millimetre and out of the way of the sensor stack. It is difficult to get the spacer into position and I haven’t tested if it affected the shutter speeds. My preferred solution is to remove the sensor stack from the NEX (easy if a bit scary) and sliding it into a printed frame which is placed in front of the Leica shutter curtain. The frame is secured by two latches, allowing it to be removed quickly if you are shooting with film. I was worried that moving the glass would affect the image quality by increasing diffraction from the surface of the glass however I haven’t noticed any problems. I expect that with 35mm lenses (the Leica viewfinder’s size on an APS-C sized sensor) it won’t have a noticeable effect. You could also use a thinner stack which should improve image quality.


CNC CUT ALUMINIUM PARTS
Since I first created this post I have managed to adjust my original designs so that all the visible external parts can be CNC cut in Aluminium. The aluminium parts have great mechanical properties and can be finished in a beautiful satin or gloss finishes to create a premium feeling camera. Unfortunately CNC cutting is very expensive in small batches so in order to manufacture these parts I would need at least 10 (but preferably more) people to preorder them. In order to facilitate this I have created a purchasable reservation on my online shop. There is plenty more information in the instructions.
The photos below show the CNC parts, there are 4 parts available for each version of the conversion, although for the APSC parts they can be bought and used separately. Note that some of the parts were mistakenly finished in matte not satin finish and so look a little rougher than they should.


APS-C MODEL FRONT
The NEX model requires the back of the M3 to be open. Fortunately the M3 has a brass shell that is very easy to remove giving you three options:
- Use the plastic printed version of the shell that I have designed.
- Use a metal version I have also designed but which is expensive to 3D print in Aluminium.
- Use the CNC cut Aluminium above which works very well but is expensive in small batches
- (NOT RECOMMENDED as it isn’t reversible) Cut the brass shell of the Leica into two parts.
Options 2. and 3. allow you to use film and digital interchangeably by placing different backs onto the Leica. I would recommend option 1 if you don’t want to use film as it’s easier and cheaper than option 2 and doesn’t damage any original Leica parts.
INSTRUCTIONS


I have written up detailed instructions for each stage of the conversion. There is one set of instructions for each of the three tear-downs (M3, NEX, A7) and a set for each of the two reconstructions. Click on the thumbnails to view the pdfs or go to this google drive folder to see them.
3D FILES
Below are two 3D computer generated renderings of my Full Frame design.


PURCHASING
If you are interested in purchasing the Full Frame or the APS-C designs please check out my online shop where you can download the instructions for free, purchase and download all the CAD files, buy a reservation for premium CNC cut Aluminium parts and even leave a donation if you enjoyed the work and want to contribute a little.
If you are interested in purchasing anything, in order to make all of the different options and models clear, I have created the following flow-chart to help visualise them.
NOTES
There are a few areas I haven’t tested rigorously,
- How light tight the film model is (it passed the bright-torch-in-a-dark-room test).
- Use in extreme temperature or very wet conditions.
- I used a single stroke (SS) M3. As far as I can tell it would only take minor changes to be compatible with the double stroke (DS) models. (It is probably also easy to adjust the design for other Leica M cameras)
- Looking at the photos of tear-downs of the A7r and A7s I believe they would work with this design but cannot be sure.
- I have forgotten how to reassemble a few minor parts of the M3 like the film counter dial.
For reference I bought my M3 for £550 although it was not in great condition. The A7 I bought refurbished for £500 on e-Bay, and replacement parts can be bought on Alibaba for roughly £50-100. I bought the last NEX-5 I used for £50 on eBay. The batteries cost about £5 each. The lens mount (for A7 model) cost about £10. The laser cut leatherette cost £20. In the A7 model I used a shortened microSD to SD converter produced by Adafruit for about £10. There were small purchases of screws and nuts etc. which are cheap when bought in bulk. Finally the 3D prints cost between £70 and £150 depending on supplier.

W O W !!! Incredible!! You are a master!!
LikeLike
I think you should start mass production of the fullframe back!! I would buy one!! For sure!!!
LikeLike
I want to see some pics
LikeLike
Amazing and we’ll presented project.
LikeLike
I am interested in this conversion and have an M3 a nex 5 and nex 7
9
LikeLike
Yeah! Mass production of the FF-Back. I’d buy one, or two, too.
LikeLike
awesome, I’d love to post an article of this on my blog. It’s mostly Leica related!
LikeLike
Amazing work! I am really tempted to give it a go.
LikeLike
How are the corner in the images of the full frame version.
I know Leica optics don’t play well adapted to A7 cameras.
LikeLike
I would love to do this conversion but don’t have the time — if there is a skilled repair person who wants to do this for a fee please post it!
LikeLike
Pourquoi ne pas le commercialiser en kit ?
LikeLike
We were assured this was not feasible. Kudos to you. FPJ
LikeLike
Incredible! I don’t think I could muster up the courage to take my M3 apart that much though!
LikeLike
fascinating…..well done….
LikeLike
Hello
This is something I was working on with Contaflex, but your solution is far superior to my attempts.
Please send me some info on you cost for both kits for my old M3. Love to make it my Dailey shooter once again.
Thx
JB
LikeLike
For a long time I’ve been hoping camera manufacturers would make a digital back for film cameras. Although I am totally rangefinder now I did spend some SLR time and enjoyed the feel of Olympus OM2 series. Of course it isn’t in the camera manufacturer’s interest to make digital conversion kits. (I believe Hasselblad do a digital back). Your digital back for the M3 is just wonderful, especially the interchangeable version. You could consider crowd funding production of your conversion, I’d buy one as I am sure many others would.
LikeLike
M4? or M6? Digital back conversion?
LikeLike
Wow, you’re the best! You made a digital back of leica m3 that I dreamed of. I’m willing to buy a full-frame digital bag, too. Can I get the approximate production price and sample image taken with digital back by email? I’ll wait for your reply. Thank you.
LikeLike
have you ever thought of making a conversion for a Rollei 35??
LikeLike
My God! My beloved M3 retrofitted with my beloved Jupter-12… I was just thinking about when someone will do such a retrofit and gave it a search, guessing maybe in 10 year. NO! Here it is! Already DONE! AMAZING!!!
LikeLike
The article you linked to is about a digital conversion kit for the Leica M3 camera. The Leica M3 is a classic film camera that was first introduced in 1954, and is known for its high-quality construction and precision optics.
The digital conversion kit is designed to allow photographers to use the Leica M3 with a digital sensor, rather than film. The kit includes a custom-made digital back that fits onto the camera body, as well as a new viewfinder that is designed to work with the digital sensor.
According to the article, the digital conversion kit offers a number of benefits for photographers. For one, it allows them to continue using their beloved Leica M3 camera with the convenience and flexibility of a digital sensor. It also offers improved image quality compared to film, as well as the ability to shoot in low light and at high ISO settings.
The article includes a number of sample images taken with the digital conversion kit, and the author notes that the results are impressive. While the kit is certainly expensive (the author notes that it costs several thousand dollars), it may be worth it for photographers who are passionate about the Leica M3 and want to continue using it in the digital age.
LikeLike